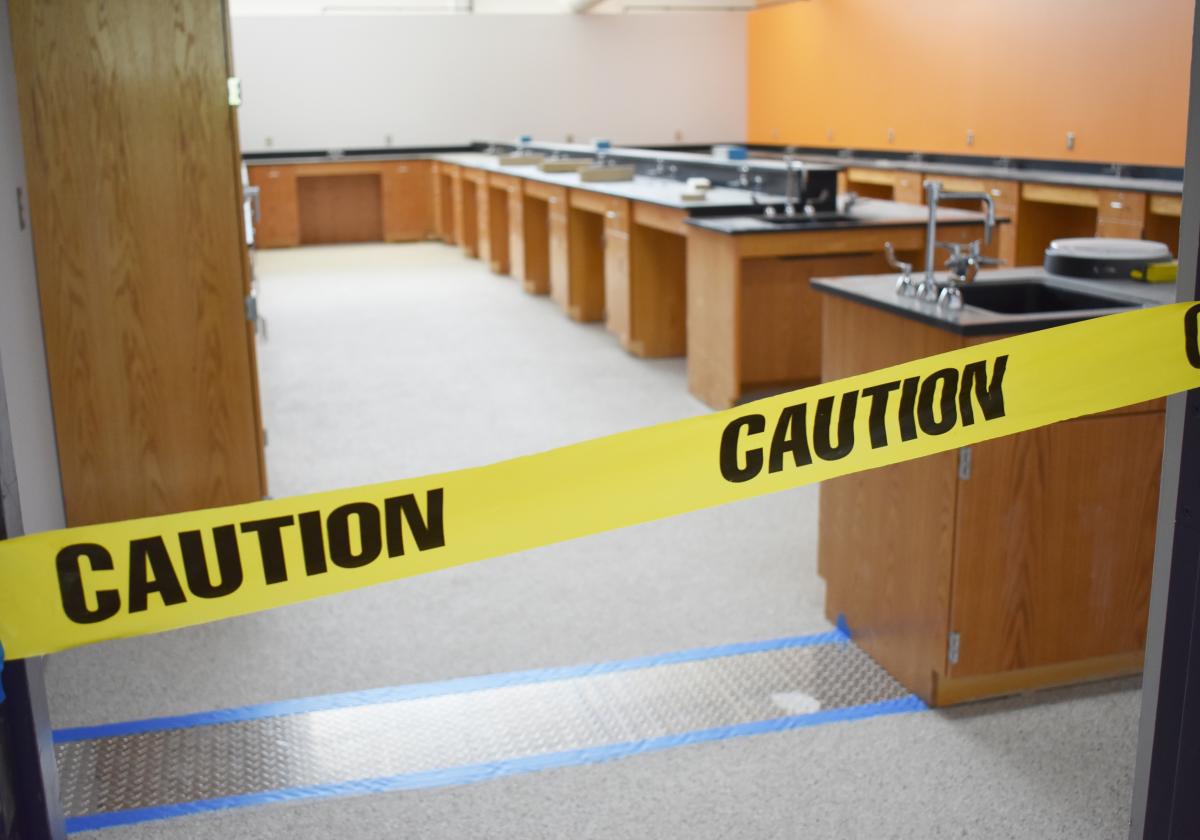
Reynoldsburg, Ohio
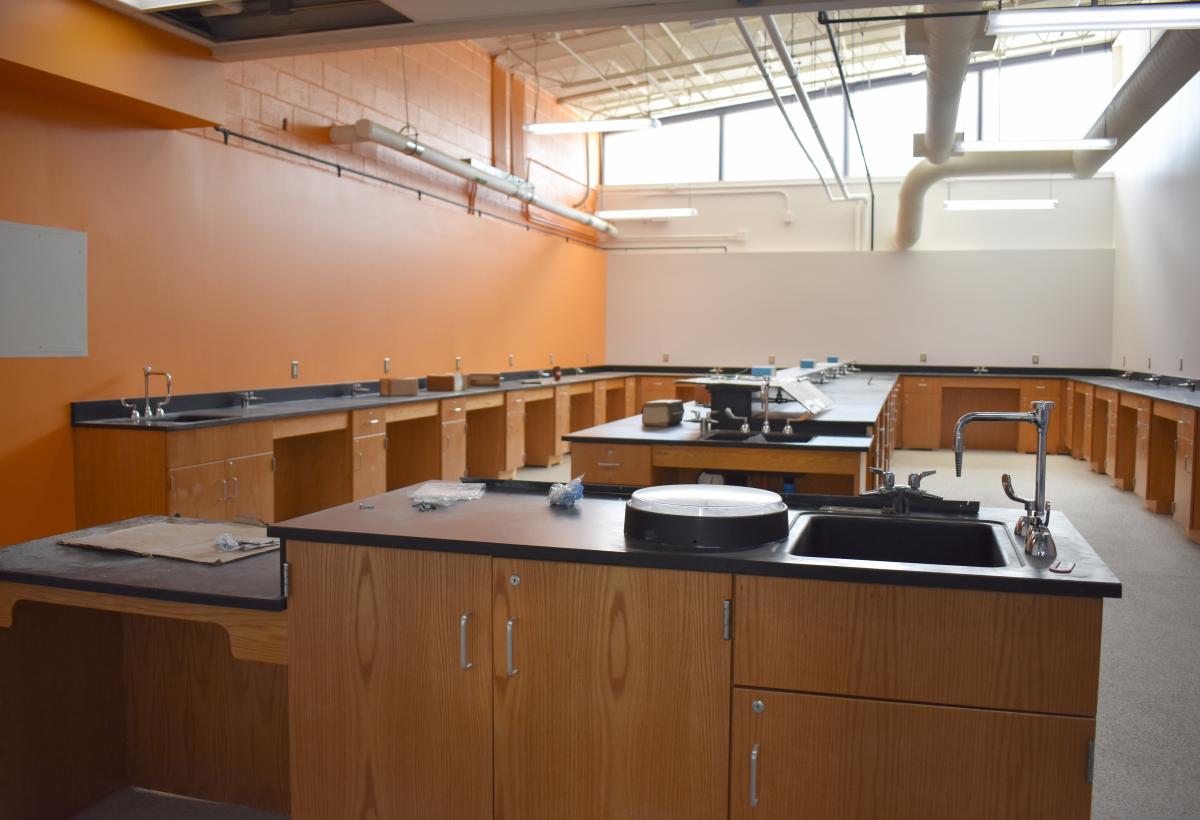
Last week we visited Reynoldsburg High School, where our Columbus team is finishing up extensive renovations. During our tour of the building’s progress, Summit Superintendent Bill Ward gave insight on how the new floors of the science labs were made in just under a 1 week process.
Day 1:
After existing cove base and flooring has been removed, floor preparation starts with grinding the edges of the room and around any items fixed to the floor, I.e.- cabinetry, casework and concrete curbs with a hand held concrete grinder hooked up to a HEPA vacuum. This is followed by a large shot blasting machine that essentially shoots thousands of 1/16” diameter steel ball bearings at the concrete floor to strip off the glues, mastics and any remaining debris leftover from the flooring demo process. It also opens up the natural pores of the concrete substrate to gain a mechanical fastening of the urethane base coat.
Day 2:
An epoxy mixture with a high tensile strength is used to fill any cracks, voids or any in-deficiencies in the substrate. This mixture is left to dry overnight.
Day 3:
The crack fill mixture is grinded smooth and the entire floor surface is swept and vacuumed to leave a clean, open pore concrete surface for the urethane base coat to bond to. The urethane base coat is a two part mixture with added polymers and it is applied by pouring 5 gallons at a time onto the surface of the clean floor using a squeegee with depth gauges affixed to the sides to spread the material uniformly, then backrolled using an 18” nylon loop roller( paint roller with nylon loops instead of a traditional fiber loop). After the mixture is spread evenly and backrolled, a layer of sand is broadcasted onto the wet urethane surface. This again is left to dry overnight.
Day 4:
The entire floor is vacuumed again and then the 2 part epoxy flooring is applied in the same fashion as the urethane base coat but instead of sand being broadcasted to the wet applied flooring it is in fact a mixture of multicolored flakes and or quartz of varying sizes. This flake is available in a variety of colors. This is left to cure overnight.
Day 5:
The entire flaked surface is smoothed out using a stiff long handled floor scraper and again, the entire surface is vacuumed clean. Next, a 2 part mixture of epoxy clear coat is mixed up and again applied with a nylon Pyle roller. This is known as the grout coat and this is the time to correct any issues with flake(color) distribution. This is left to cure overnight.
Day 6:
The final coat of clear epoxy is applied. This coat gives you the desirable sheen that is needed for a particular project whether it be a matte finish or a high gloss finish and anywhere in between. After this coat is cured, usually overnight, the cove base and associated trims are installed and the space is opened back up to foot traffic.
Talk about a complex process. The renovations at Reynoldsburg High School are coming to a close in the next few weeks. You can visit our Educational Projects page to learn more about Summit's role soon!